In just one hour, build your own Chrome extension to show JS tips in new tabs!
Follow the steps in this project to build your own application that displays a new coding tip on every new tab in Chrome!
To complete this project, you’ll need some basic knowledge of HTML, CSS, and JavaScript.
Check out what your finished project will look like (without having to install anything)
here
!
If you’ve already downloaded a finished version of this Chrome Extension (found
here
on the Chrome Web Store), following this guide will show you how to make a
new version
of that project.
By building it yourself, this extension can include all of your own notes and tips or have any new feature or content that you’d like!
We are going to develop this app on your local computer.
You’ll need
Google Chrome
and a text editor (we recommend
Atom
).
This project focuses on writing JavaScript, which will enable us to interact with HTML elements.
Since we are going to write JavaScript, we are going to provide the HTML, CSS, and project files to get you started.
Download the starter project here .
The starter project includes an index.html, a CSS folder, and a JavaScript folder.
Open up the starter project in your text editor.
Then, open up
index.html
in Chrome.
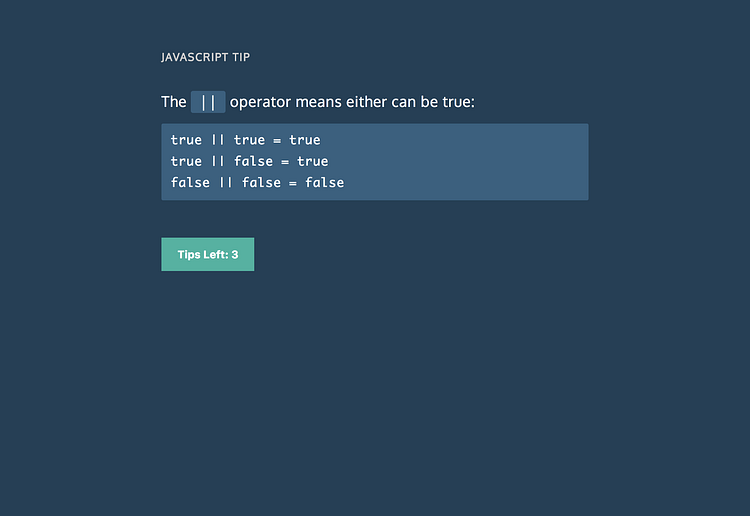
It should look like this:

Let’s make this page come alive with JavaScript!
Take a look inside the
main.js
file inside the
js
folder.
There are a couple things to notice.
First, we’ve provided you with a
tipsList
array full of HTML-ified JavaScript Tips.
Second, at the bottom of the file, there’s a bunch of code comments describing each expression and function we will write.
Hopefully they will help us keep on track throughout the project.
Our first task is to display a random tip on the page.
We’ll need to:
1.
select a random tip
2.
inject that random tip into the HTML
On line 30, write a function named
generateNumber
.
This function should
return
a random number between 0 and 11, since there are 11 items in the
tipsList
array.
Use functions like
Math.random()
,
Math.floor()
, and/or
Math.round()
to create a random number.
Having trouble? View the answer here .
Around line 38, under the “Generate tip” comments, declare a function named
generateTip
.
Inside the
generateTip
function, we can utilize the
generateNumber
function to find a tip.
Inside the
generateTip
function, create a variable named
tip
, equal to one tip from the
tipsList
array.
To get one tip, you might write
tipsList[0]
or
tipsList[1]
, but instead of writing an actual number inside the brackets, call the
generateNumber
function instead since it returns a number.
Having trouble? View the answer here .
Now that we have a tip selected, we need to inject it into the HTML.
We can use
document.querySelector
and
innerHTML
to achieve this.
You can select an HTML element by its CSS selector, like this:
var myNeatoElement = document.querySelector(‘.neato-css-selector);
Then you can add the tip to its inner HTML with:
myNeatoElement.innerHTML = “Neato burrito, Simo!”;
The code above would find HTML element with the
.neato-css-selector
CSS selector, then it would set its inner HTML to “Neato burrito, Simo!”.
Use
document.querySelector
and
innerHTML
to set the
.js-tip
element’s HTML to the
tip
variable.
Having trouble? View the answer here .
To display the amount of tips left, let’s declare a tip limit variable, display its current count on the button, and we will make it decrease later on every button click.
On line 27, declare a variable named
tipLimit
, and set it equal to 3.
Then, inside the
generateTip
function, create a variable named
tipLimitCount
.
Set it equal to the HTML element with a CSS selector of
.tip-limit-count
.
Now you that you have the
tipLimitCount
element, set its inner HTML to the
tipLimit
variable.
If you reload the page, nothing appears because we have not called the
generateTip
function.
On the last line of the JavaScript file, call the
generateTip
function, then reload your page in Chrome.
Having trouble? View the answer here .
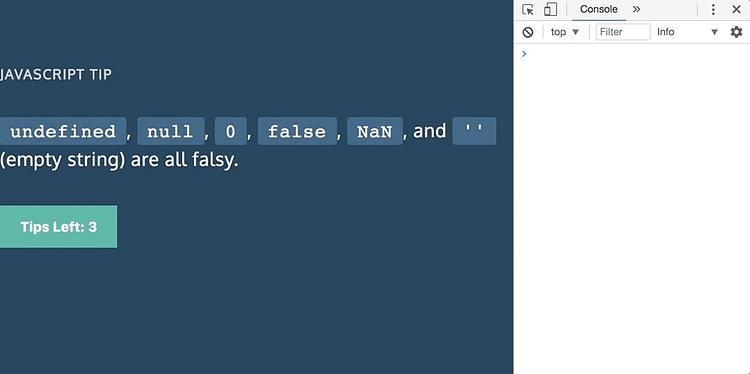
Checking in: At this point, your project should look something like this:
Now that we have the tips, let’s make them change when we click the button.
Around line 54, declare a function named
onTipButtonClick
.
Inside the function, create a variable named
tipButton
that uses
document.querySelector
to select the
.tip-button
element.
Now that we have the
tipButton
, we need to listen for any clicks on it.
For this, we can utilize a function named
addEventListener
, which looks like this:
clickyClippy.addEventListener(‘click’, function() {
console.log(‘Hi, I am clippy, your helpful office assistant!’);
});
Remember
Clippy
? Clippy loved being clicked.
In any case, the above code takes an element like
clickClippy
, and adds an event listener.
The event we are listening for is a
‘click’
.
When that event happens, the proceeding function will be called.
In this case, it would
console.log
a string to the console.
Use the above example to add a click event listener to the
tipButton
element inside the
onTipButtonClick
function.
One last thing: to start listening for click events, we need to call the
onTipButtonClick
function.
Underneath the function, call it.
Then, you can test it out by writing a
console.log
inside the click function and watching the console as you click the button.
Having trouble? View the answer here .
At this point, your log to the console when you click the button should look like this:
Now let’s change the tip count, generate new tips when necessary, or change the look of the button if the tips run out.
Inside the click event listener, subtract 1 from the
tipLimit
variable, since each click should lessen the remaining tips.
Then, write an
if
statement that calls the
generateTip
function if the
tipLimit
is greater than or equal to zero.
Inside the same if statement, write another nested
if
statement to change the button text and style.
Write an
if
statement whose condition is if the
tipLimit
is exactly zero.
If it is, set the inner HTML of the
tipButton
to say “See you in another tab!”
In addition to changing the text, let’s change the style of the button to be greyed out and disabled.
In the
styles.css
file, there’s a class named
disabled
.
We can add it like this:
myButtonElement.classList.add(‘disabled’);
The above code will add the class
disabled
to the
myButtonElement
.
Use this example to add the
disabled
class to the
tipButton
element.
Having trouble? View the answer here .
At this point, we have a working app.
Air five!

If you ran into issues, here’s a look at the completed main.js file.
Inside the starter project, there’s a file in the parent folder named
manifest.json
.
Feel free to take a look.
This file will enable us to use this project as a Chrome Extension.
Make sure to save your JavaScript Tips Tab folder in a location where you can find it (like Documents or Desktop).
Now, in Chrome, let’s make the magic happen.
Open a new tab, and navigate to
chrome://extensions
.
Inside this tab, click on the
Developer Mode
checkbox in the top right corner:

Once that is checked, some buttons will appear.
Click on
Load Unpacked Extension…

This will open up a file browser.
Navigate to your JavaScript Tips Tab project folder and select it.
This enables the extension.
Now, for the moment of truth: Open a new tab!

You just made a Chrome Extension.
With this knowledge, you could make any web app into an extension.
Oh, the possibilities!
If you enjoyed this project, please let us know in the comments, or by clicking the green heart.
We wholeheartedly encourage you to add more features, more tips, and make this project your own.
If you do use build something cool based on what you’ve learned here, share it with us and your fellow community members on our
forums
! By sharing your changes and additions, you could help thousands of other learners like you to learn these essential skills.